How To Add Event To Shared Google Calendar
How To Add Event To Shared Google Calendar - Click an event options change owner. On your computer, open google calendar. Here are the steps to follow: Enter a new owner and a message to send them. To add an event to a shared. By following these steps, you’ll be able to add events and appointments to your shared calendar, ensuring that everyone is on. Google calendar makes it easy to add events to a shared calendar.
On your computer, open google calendar. Here are the steps to follow: Click an event options change owner. By following these steps, you’ll be able to add events and appointments to your shared calendar, ensuring that everyone is on. Google calendar makes it easy to add events to a shared calendar. Enter a new owner and a message to send them. To add an event to a shared.
Click an event options change owner. Google calendar makes it easy to add events to a shared calendar. Enter a new owner and a message to send them. On your computer, open google calendar. By following these steps, you’ll be able to add events and appointments to your shared calendar, ensuring that everyone is on. To add an event to a shared. Here are the steps to follow:
How to add an event to a shared google calendar YouTube
By following these steps, you’ll be able to add events and appointments to your shared calendar, ensuring that everyone is on. Click an event options change owner. On your computer, open google calendar. Enter a new owner and a message to send them. Here are the steps to follow:
How to share Google calendar with friends and family
Here are the steps to follow: To add an event to a shared. Enter a new owner and a message to send them. By following these steps, you’ll be able to add events and appointments to your shared calendar, ensuring that everyone is on. Click an event options change owner.
How to Make a Shared Google Calendar
Enter a new owner and a message to send them. On your computer, open google calendar. To add an event to a shared. By following these steps, you’ll be able to add events and appointments to your shared calendar, ensuring that everyone is on. Google calendar makes it easy to add events to a shared calendar.

How to Make a Shared Google Calendar
Enter a new owner and a message to send them. On your computer, open google calendar. Click an event options change owner. Here are the steps to follow: Google calendar makes it easy to add events to a shared calendar.

How to Add Events to a Shared Calendar in Google Calendar
Here are the steps to follow: Enter a new owner and a message to send them. Google calendar makes it easy to add events to a shared calendar. By following these steps, you’ll be able to add events and appointments to your shared calendar, ensuring that everyone is on. To add an event to a shared.

How to Make a Shared Google Calendar
To add an event to a shared. Google calendar makes it easy to add events to a shared calendar. On your computer, open google calendar. Enter a new owner and a message to send them. Here are the steps to follow:
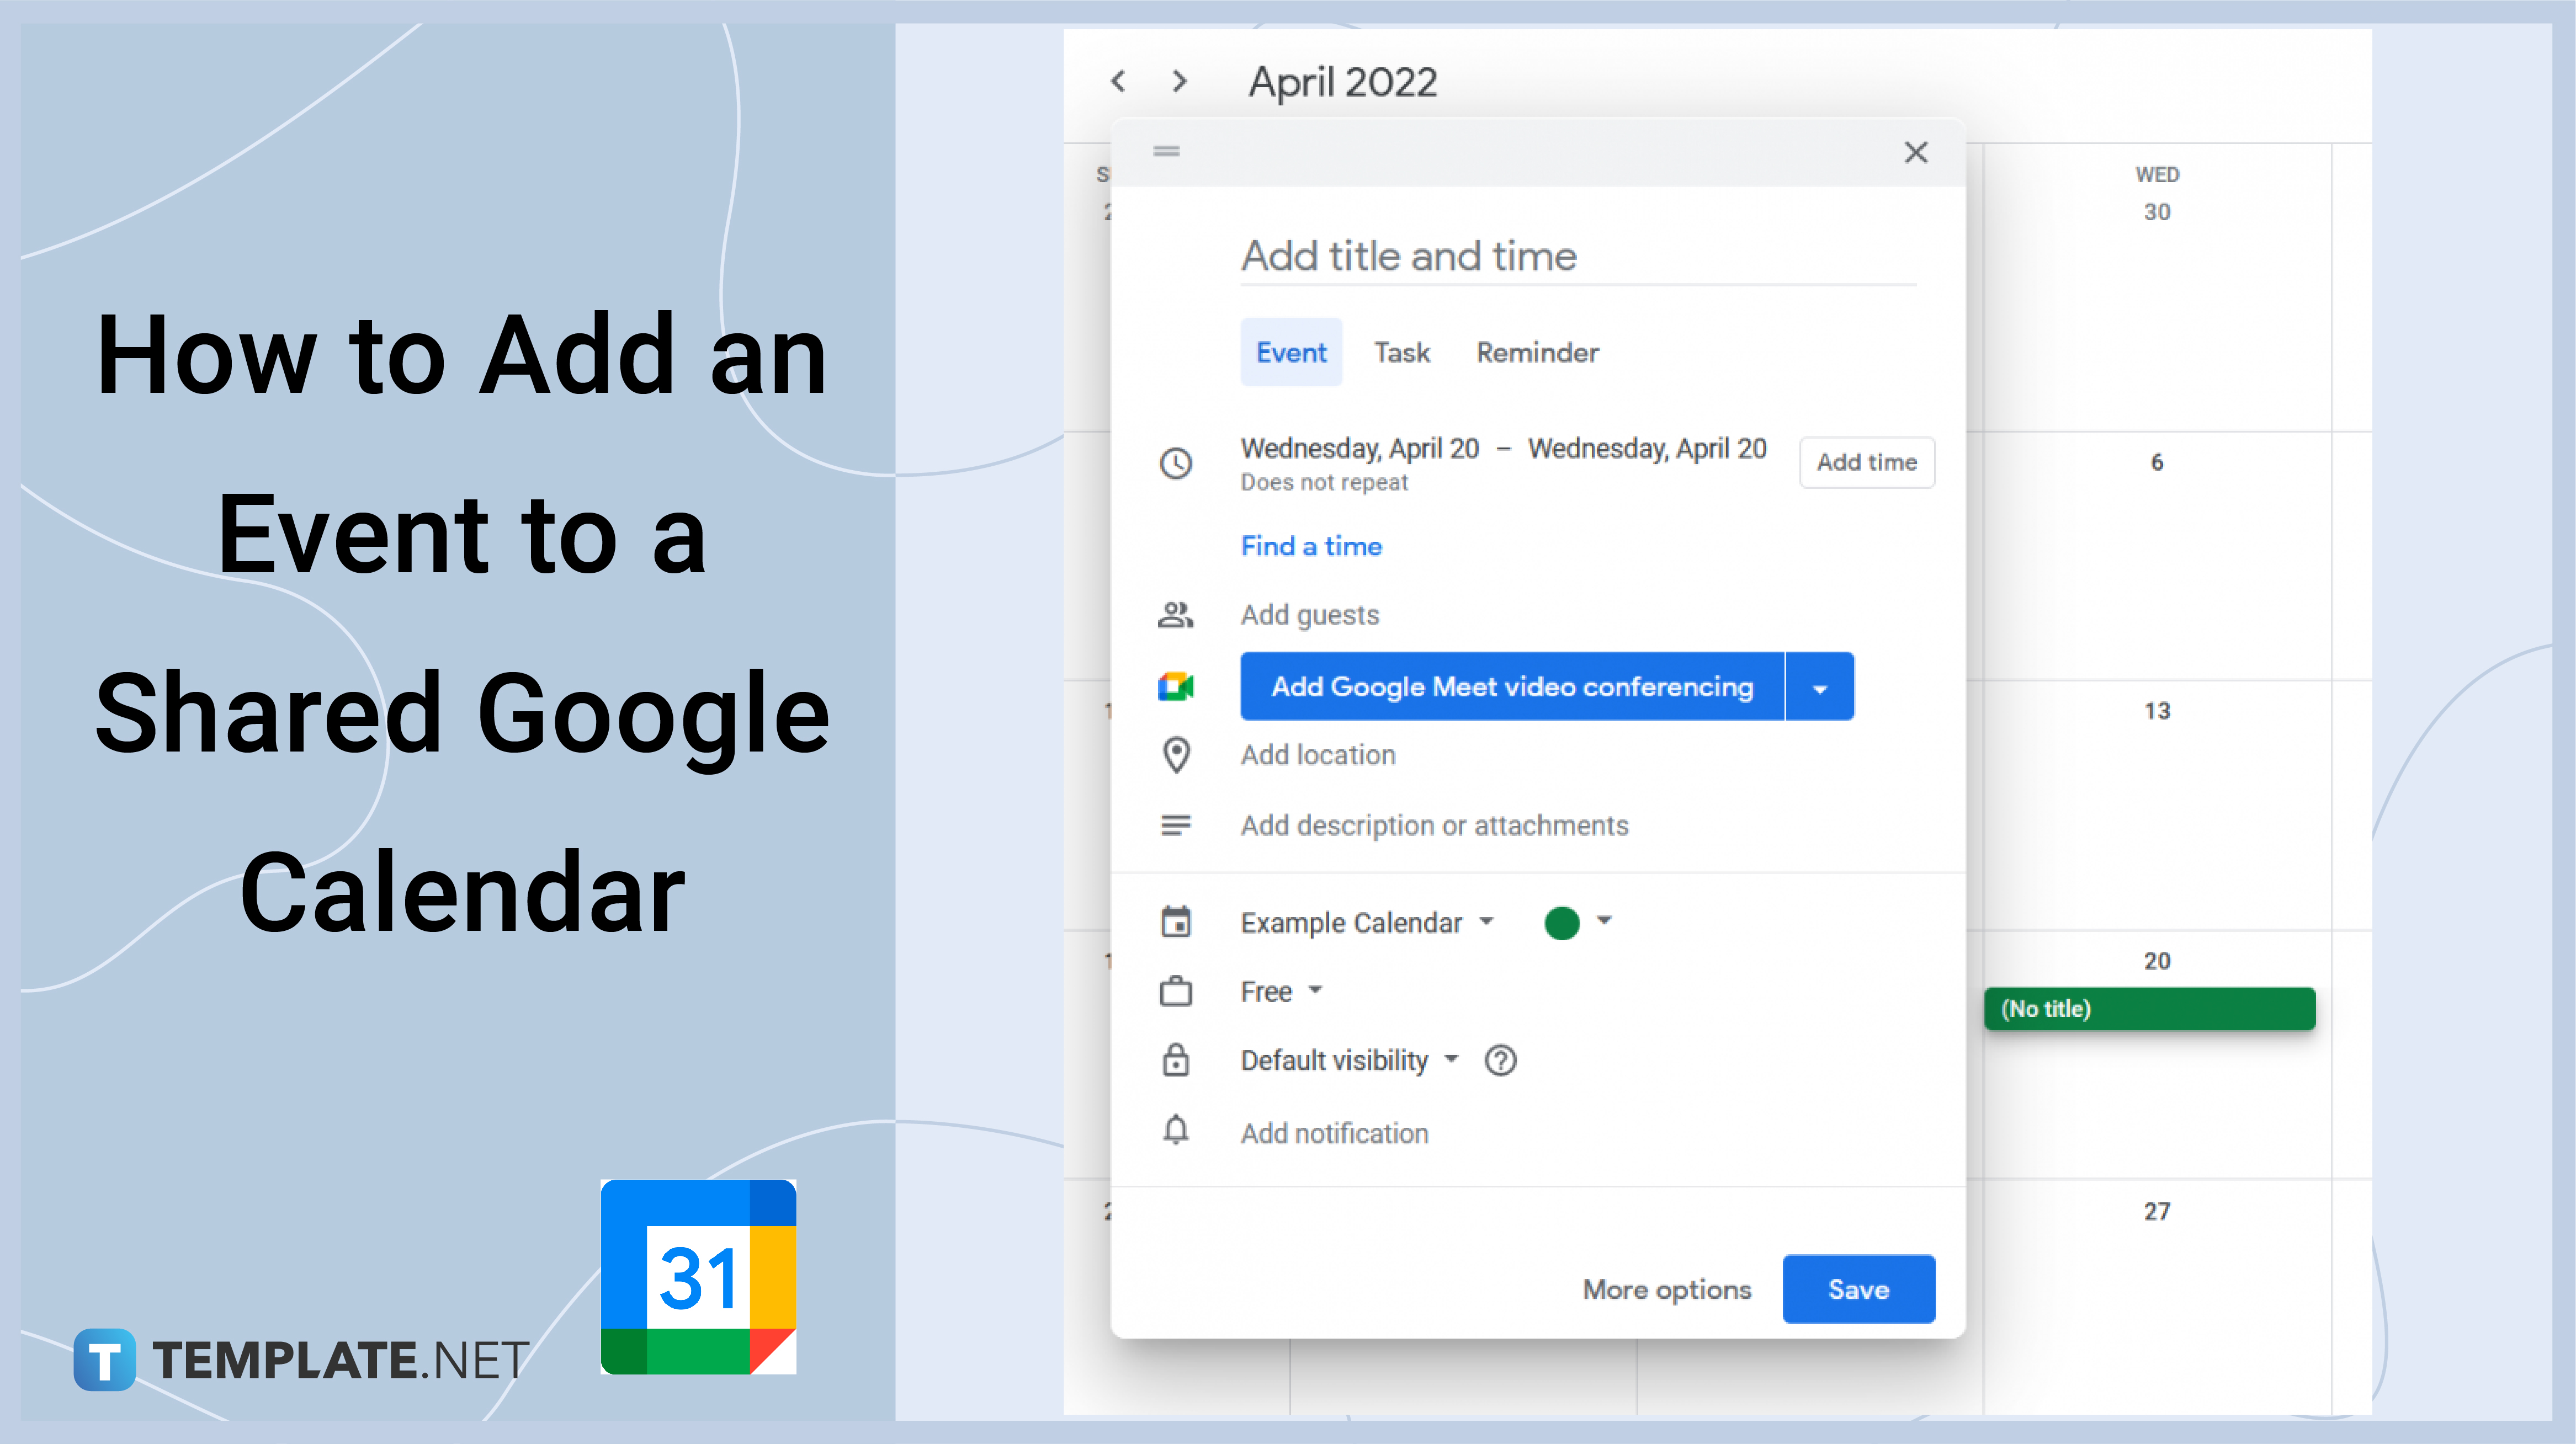
How to Add an Event to a Shared Google Calendar
To add an event to a shared. Enter a new owner and a message to send them. Google calendar makes it easy to add events to a shared calendar. Click an event options change owner. By following these steps, you’ll be able to add events and appointments to your shared calendar, ensuring that everyone is on.

How to Add an Event to a Shared Google Calendar
On your computer, open google calendar. Click an event options change owner. Here are the steps to follow: To add an event to a shared. Google calendar makes it easy to add events to a shared calendar.
How to Add an Event to a Shared Google Calendar
By following these steps, you’ll be able to add events and appointments to your shared calendar, ensuring that everyone is on. Google calendar makes it easy to add events to a shared calendar. To add an event to a shared. Here are the steps to follow: On your computer, open google calendar.
How to add event to a shared google calendar Let's Calendar
Enter a new owner and a message to send them. To add an event to a shared. Google calendar makes it easy to add events to a shared calendar. Here are the steps to follow: On your computer, open google calendar.
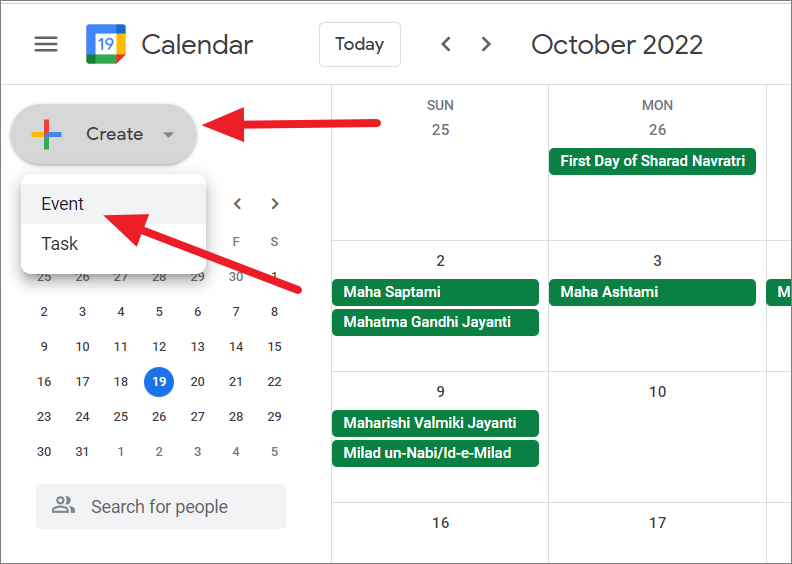
Click An Event Options Change Owner.
Google calendar makes it easy to add events to a shared calendar. To add an event to a shared. By following these steps, you’ll be able to add events and appointments to your shared calendar, ensuring that everyone is on. Enter a new owner and a message to send them.
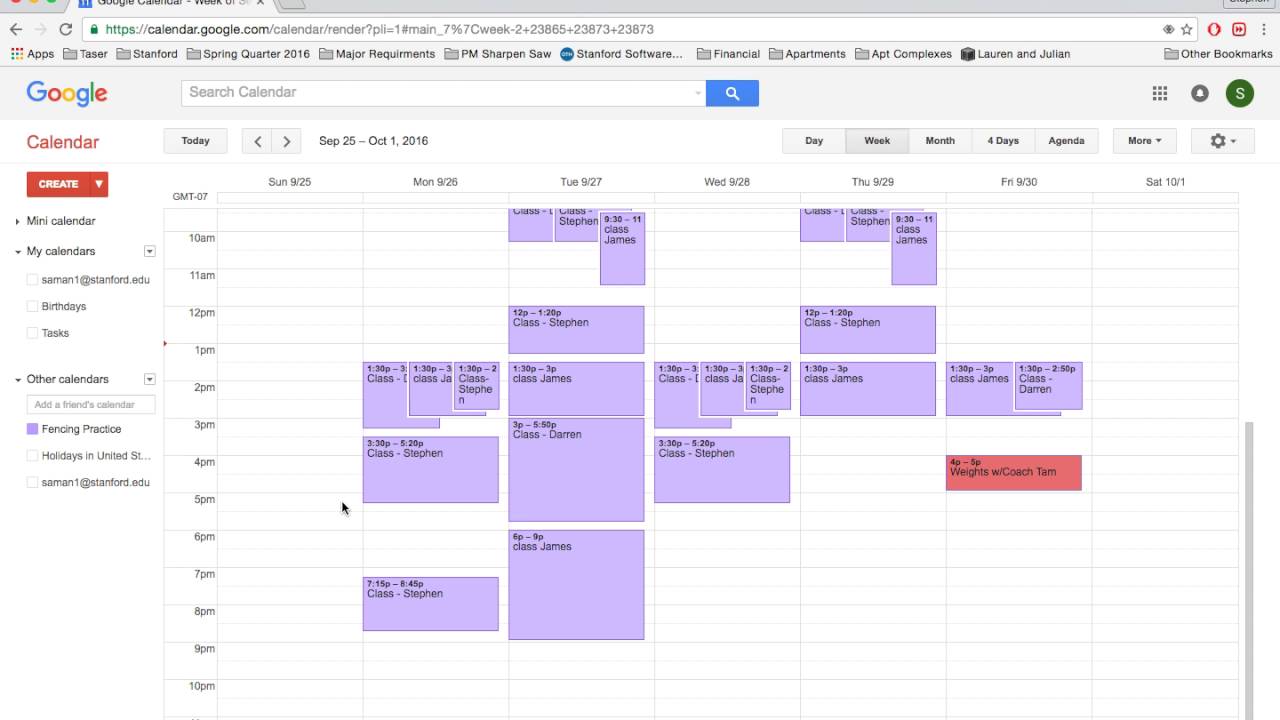
On Your Computer, Open Google Calendar.
Here are the steps to follow: